
Instructional design and mentoring · Institut Artline

Environment in Houdini, a module fully designed and produced

I teach Houdini and Unreal Engine 5. For Institut Artline, I created the entire “Environment in Houdini” module, used in the third year of the Bachelor I3D (3D computer graphics) and in the Master's program: the learning path, the curriculum, the exercises and briefs, the course materials, the grading rubric, and the 155 videos, which I recorded and edited. Five weeks to go from discovering Houdini to a cinematic in Unreal Engine 5.6.

Institut Artline logo

An iterative teaching approach

Each concept is introduced gradually, in cycles inspired by the Agile methodology. Students don't get stuck under an overload of concepts or an overly linear approach: they take on complexity step by step, without slowing their progress.

I'm also the mentor for this module, in both the Bachelor's and the Master's programs: live video sessions, weekly grading of student work, running the class remotely, debugging, and progress tracking. I led the January – February 2026 session and I'm leading the November – December 2026 session, in the third year of the Bachelor I3D.

Institut Artline

Week 1

Getting to know the software

Objective: understand Houdini's logic and model a few simple assets.

Exercise 1 — Procedural asset modeling Required

Create at least one procedural asset of your choice:

  • a procedural wall;
  • a simple 5 m × 5 m ground with scattered stones;
  • a climbing root with leaves (the root's growth is not required).

Technical challenge 1 Optional

Create a 5 m × 5 m ground with a brick wall in the center, leaves on the ground, and small stones scattered across the whole ground.

Technical challenge 2 Optional

On top of challenge 1: a root that starts from the ground and climbs up the wall. The stones are scattered only near the wall, without touching the root. The wall, the root, and the stones leave their imprint on the ground.

Exercise 2 — Choosing the environment Required

Exploration: look for three environments you would like to create, without worrying about complexity. The only criterion: you have to like them. Film environments are a good source of inspiration.

Selection and adaptation: together we pick one of the three, assess its feasibility within the time frame, and adapt it if needed by adding or removing elements.

Constraints and feasibility: we then review the constraints specific to the exercises and the technical feasibility of the chosen environment.

Week 1 video chapters ()
  1. Installation
  2. Interface
  3. The desktop
  4. Nodes and display
  5. Template
  6. Selection and Blast
  7. Hscript and Channel Reference
  8. VEX and VOPs
  9. Boolean operations
  10. PolyExtrude
  11. PolyBevel
  12. CopyToPoints
  13. Scatter
  14. Volumes
  15. Procedural approach
  16. HDA
  17. Group and procedural PolyExtrude
  18. Packed Geometry
  19. TimeShift
  20. Attribute Transfer
  21. Solver
  22. FX Footprint
  23. Guided exercises

Week 2

Procedural modeling and volumes

Objective: learn to model organic and hard-surface assets with the main nodes.

Exercise 1 — Choosing the environment Required

Together we choose an achievable environment that fits the course objectives. During the live sessions, I tailor the demos to the specific challenges of each environment.

Exercise 2 — Organic modeling Required

Model the nebula using volumes.

Depending on how powerful your computer is, don't use a high resolution for the volumes. A very low-resolution result is fine: you don't want to lose too much time on computation. I look at your setup first; the final image will come later.

Technical challenge Optional

  • Import the nebula into Solaris
  • Create 2 or 3 variations of the nebula with PDG
  • Do the lookdev for the nebula
  • Create the starfield
  • Render an image of the nebula with the starfield in Solaris
  • Keep smiling

Exercise 3 — Hard-surface modeling Required

Build the Rock Generator HDA, with or without the Python part.

The Python HDA videos (P1 to P6) are optional. They show how to save time by setting the HDA's parameters automatically. In “Python interface update” and “Python code update,” I provide object-oriented code to paste into the HDA if you get stuck, and I explain the algorithm piece by piece. Without Python, the HDA still works, but you have to set a lot of parameters by hand.

Technical challenge Optional

Build the Rock Generator HDA with the Python part.

Exercise 4 — Hero asset Required

Find references, then choose the hero asset to model.

Week 2 video chapters ()

Overview, VOPs, and nebula

  1. Week 2 overview
  2. Environment selection
  3. Data overview
  4. Help browser
  5. Guided exercises
  6. VOPs
  7. Introduction to Solaris
  8. Variations with PDG
  9. Lookdev and optimization
  10. Starfields
  11. Demo scene breakdown

Rock Generator HDA

  1. Project organization
  2. Naming convention
  3. Labs Maps Baker setup
  4. Procedural rock base shape
  5. Volumes and noise, technical approach
  6. HDA creation
  7. Scale control
  8. Switch node base shape selection
  9. Type properties vs Edit parameter interface
  10. Switch parameter proxy & custom geometry
  11. Base shape creation using Voronoi fracture
  12. Prepare geometry for details
  13. Low frequency
  14. Clean small pieces
  15. Medium frequency
  16. Configuration
  17. Parameters creation
  18. Read and write parameters
  19. Low frequency parameter interface
  20. Med & highres
  21. Low frequency default parameter

Python HDA

  1. HDA
  2. Interface low & medium frequency
  3. Stepping
  4. Cut
  5. PDG variations & FBX export
  6. Noises interface parameters
  7. Python interface update
  8. Python code update
  9. Optimization
  10. Procedural masks for textures
  11. Mask interface parameter

Week 3

Procedural assets

Objective: create variations of the assets you've built.

Exercise 1 — Model the hero asset Required

  • Model the hero asset with UVs and procedural textures
  • Create 2 or 3 variations, with or without PDG
  • Lock down the camera and place the hero asset on a simple grid

The deadline is tight: for UVs, go with automatic unwrapping and check your textures in Solaris, because the Houdini viewport often shows artifacts even when everything is correct in Solaris. If you run into a texture issue in Solaris, place the camera first: depending on the distance and angle, the flaws are often hidden. The goal is a still image rendered in Solaris.

For the variations, if you're short on time, simply change the base mesh's scatter seed by hand, without using PDG. In that case, remember to duplicate the Labs Maps Baker and rename it so you don't overwrite the original geometry (Houdini doesn't allow duplicate names within the same network). The same principle applies with a file cache in the Apprentice version.

Week 3 video chapters ()

Procedural pillar and tools

  1. Procedural pillar P1
  2. Procedural pillar P2
  3. UV tips
  4. UV manual unfold
  5. Breaking techniques
  6. HDA
  7. Fractures
  8. Mesh modeling
  9. Parameters interface
  10. Cracks generator
  11. Texture generator
  12. Highres geo
  13. Maps AO, dirt, curvatures
  14. VOPs color creation
  15. Color enhancement
  16. Lowres geo creation
  17. Parameters interface
  18. Performance monitor
  19. Polish

Rock Formation

  1. Overview
  2. Base mesh creation
  3. Cutters
  4. Loop base mesh preparation
  5. Loop strata and noises
  6. Color variation & strata ID
  7. Highres quality
  8. Lowres creation
  9. Maps baking
  10. Zone selection
  11. Big rocks base mesh
  12. Big rocks variations
  13. Big rocks scatter
  14. Grass mask
  15. Grass modeling
  16. Small rocks
  17. Geometry import
  18. Shader Solaris issue
  19. AO, CU, strata color variations
  20. Shader micro details
  21. Props shaders
  22. Roughness & ground contact
  23. Solaris Karma intro

Week 4

Heightfields

Objective: build a terrain and instanced clouds from scratch. Integrate the textures, set up the shading, place the lights, and render the concept.
Week 4 video chapters ()

Heightfields

  1. Introduction
  2. Heightfield
  3. Heightfield Noise
  4. Heightfield Distort by Noise
  5. Heightfield Terrace
  6. Heightfield Draw Mask
  7. Heightfield Mask Blur
  8. Heightfield Mask by Feature
  9. Heightfield Mask by Geometry
  10. Heightfield Erode

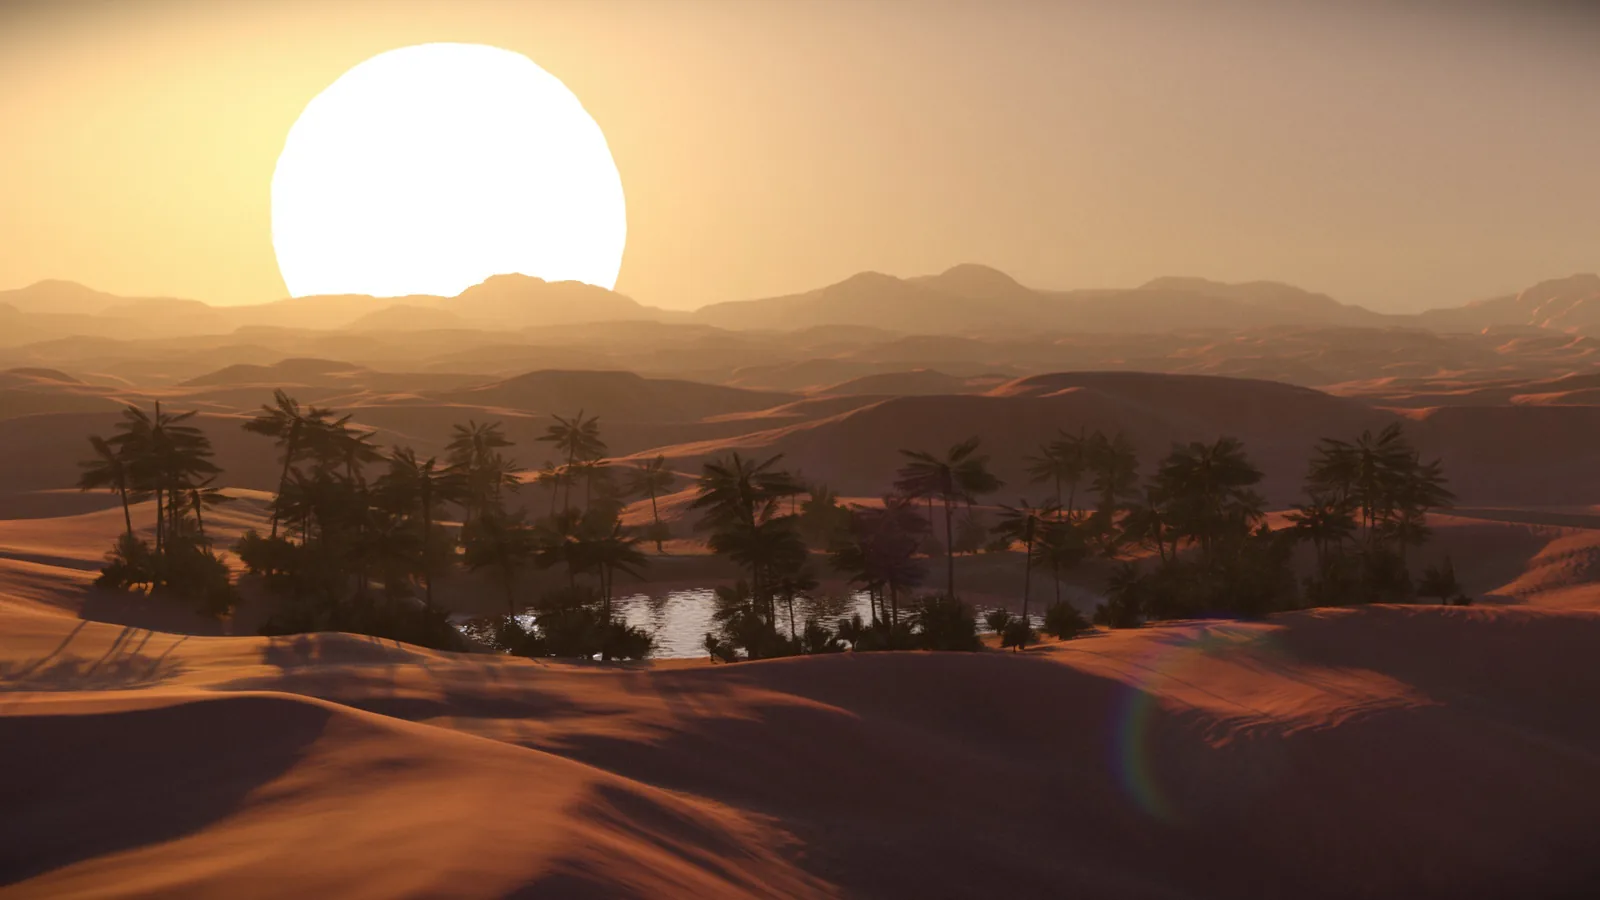
Oasis

  1. Dunes creation
  2. Solaris layout P1
  3. Solaris layout P2
  4. Dune shader
  5. Layout polish
  6. Dune lighting
  7. Procedural oasis creation
  8. Solaris instancer
  9. Scene polish
  10. Shadows & offset issue
  11. Wet map
  12. AOVs presentation
  13. DaVinci Resolve compositing

Week 5

Unreal Engine 5.6

Objective: learn the basics of Unreal Engine 5.6 and create a cinematic.

Heightfields imported from Houdini, materials and an automaterial, collisions, a sparks portal FX built in three steps, then staging environments (Rural Australia, jungle) all the way to rendering the cinematic with Sequencer and Movie Render Queue.

Week 5 video chapters ()

The basics

  1. Installation
  2. Interface and navigation
  3. Outliner and Details panels
  4. Actors
  5. Heightfields creation
  6. Heightfields import
  7. Materials
  8. Heightfields layers
  9. Automaterial demo
  10. Environment selection
  11. Colliders

FX

  1. Sparks Portal P1
  2. Sparks Portal P2
  3. Sparks Portal P3, polish

Environment and cinematic

  1. Scene creation
  2. Rural Australia pack
  3. Foliage
  4. Jungle pack
  5. Timelapse layout creation
  6. Sequencer
  7. Lighting & post process
  8. Exposure
  9. Movie Render Queue
  10. Outro

Training

Have a question about this module?

Write to me.

sebastien.volpe@gmail.com